Contact

Support
Recipe Recommendations For Puppy Owners Health and Nutrition Tips All Dog Articles Personalized Feeding Guide
Virtual Pet Park
Explore our wild world of adorable pet photos and videos.
Support
Recipe Recommendations Health and Nutrition Tips All Cat Articles Personalized Feeding Guide
Virtual Pet Park
Explore our wild world of adorable pet photos and videos.
Dog Ear Cleaning 101
Thursday, July 15, 2021 | Grooming & Care
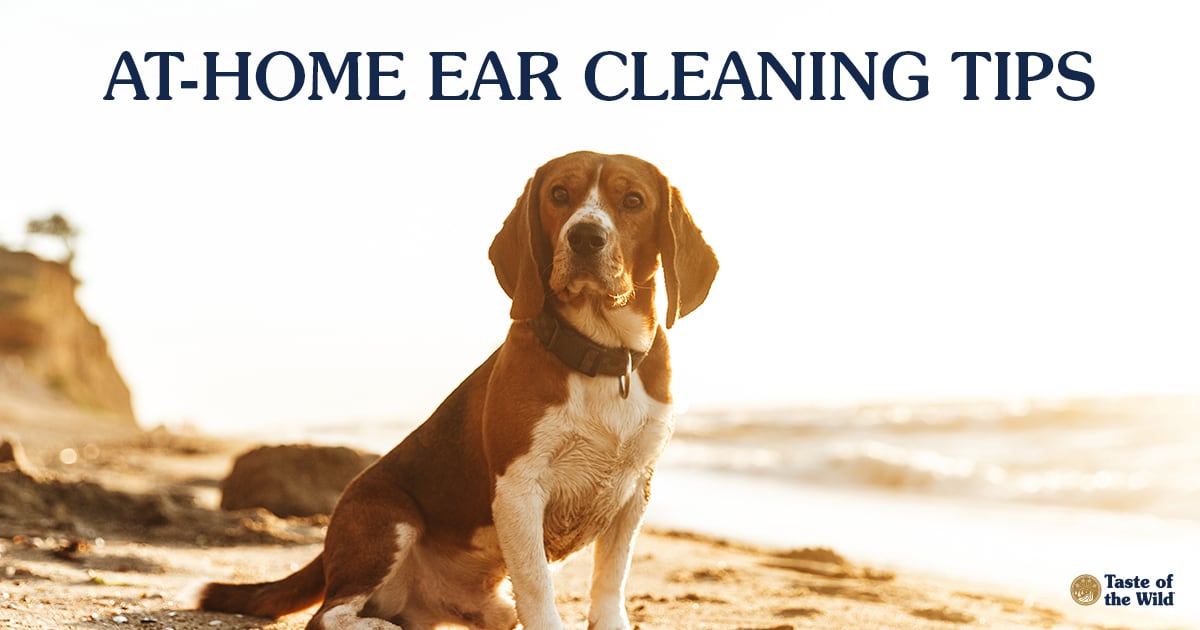
If you bathe your dog at home, trim their nails and groom their coat, you may have thought about cleaning your dog’s ears at home, too. It is possible, but you should always ask your veterinarian first because it’s not always necessary. If your vet does recommend cleaning your dog’s ears at home, we’ve got some tips on how to do it safely.
Your Dog’s Ear Canal Is Self-Cleaning
Believe it or not, healthy dog ears come with a self-cleaning feature. In this process, known as epithelial migration, the skin in the ear canal gradually migrates outwards from the eardrum (the tympanic membrane), carrying with it excess debris.
So, if the ears aren’t bothering your dog and your furry friend gets regular checkups, it’s usually best to leave their ears alone.
Ear Infections Can Make Cleaning Your Dog’s Ears Necessary
Sometimes, however, underlying allergies, a secondary bacterial or fungal ear infection and other problems can disrupt the natural ear-cleaning process and make it necessary for you to clean your dog’s ears.
However, you should never put anything in your dog’s ears without first consulting with your vet. Some cleansers or medications may include ingredients that can be problematic if your dog’s eardrum is ruptured. Alcohol may sting and further inflame the skin.
My Dog Has Itchy Ears — Are They Infected?
If your dog is scratching at one or both ears and shaking their head, that’s usually a sign there’s a problem. Other symptoms of ear infections, ear mites or other problems include an unusual odor and a brownish, waxy buildup. The ear may also be painful to the touch.
If your dog is experiencing these symptoms, it’s time to take them for a checkup. Your vet can examine your dog’s ear canal, including the eardrum, and take samples of ear discharge to help diagnose what’s causing the problem.
In more complicated cases, your vet may need to perform an ear flush to enable proper examination and treatment. Sedation is usually recommended for your dog’s safety and comfort. Severe cases may require surgery, so it is important to control an ear infection if you want to avoid getting to this stage.
If your vet has recommended that you clean your dog’s ears due to an ear infection or another problem, we’ve got some tips to make it easier on both of you.
How to Clean Dog Ears
First, help your dog become accustomed to having their ears handled — ideally, before your dog ever has an ear problem. The next time your dog is sprawled on the couch relaxing with you, gently touch their ears and praise them for calm behavior. Over time, gradually advance to lifting your dog’s ear flap and looking inside the ear. Again, offer praise or a treat when your dog remains calm.
Notice how your dog’s ears look when they’re healthy. Depending on your dog’s skin pigmentation, the skin on the inside of the ear flap should typically be soft and pink, but not red, inflamed or thickened.
Before You Clean Your Dog’s Ears
Set up in an area that’s easy to clean up, such as a bathroom or outdoors. During ear cleaning, your dog may want to shake their head, releasing the ear cleaning solution and ear contents, so you may want to lay a towel down and also dress accordingly.
Use only the ear cleanser that has been prescribed by your vet. Again, you want to avoid any ingredients that could make your dog’s ear condition worse.
Add the Dog Ear Cleaning Solution
Use the ear cleaning solution that your vet recommends — do not use homemade dog ear cleaner unless told to do so by your vet. Homemade remedies may damage your dog’s ears.
Since dogs have L-shaped ear canals, you’ll want to gently pull up on the ear flap to slightly straighten the canal, then fill the ear canal with cleanser. Gently massage the base of your dog’s ear to help loosen any debris deep in the canal. Your dog may lean into this because it feels sooooo good. After a few minutes, allow your dog to shake their head, releasing the cleanser and any debris from the ear canal.
If this process seems messy and you’re wondering how to clean dog ears without solution, talk to your vet first. They can advise you on the best way to clean your dog’s ears, especially if they have frequent ear infections and routine ear cleaning is recommended.
Mop Up the Dog Ear Cleanser
Gently remove the remaining cleanser with soft gauze squares or cotton balls. Never put anything, including cotton swabs, into the ear canal, because this can pack debris deeper into the canal or damage the ear itself. Simply mop up what came out of the ear canal using gauze wrapped around your finger or a cotton ball.
Give Your Dog Lots of Hugs
The last step is to reward your dog for a job well done. Give them plenty of praise and perhaps a tasty treat so they always associate ear cleanings with a positive experience.
For more at-home grooming tips, read our Taste of the Wild guide to pet grooming.
The information in this blog has been developed with our veterinarian and is designed to help educate pet parents. If you have questions or concerns about your pet’s health or nutrition, please talk with your veterinarian.